Welcome, traveller. As you arrive on the shores of the Philippines, remember that all great journeys begin humbly. Your adventure to this beautiful archipelago of green islands starts here, not with a beautiful beach or mountain view, but at the beautiful gateway of the Ninoy Aquino International Airport (NAIA). Put aside the ghost stories; approach this gate with an attitude of prepared calmness, and it turns from just a stop on a journey to your smooth, adventurous overture to the vibrant heart of the Pearl of the Orient. Allow this Manila airport guide to be your flight plan for a smooth arrival and a successful first adventure on Philippine soil.
Manila Airport Guide: Tips for a Smooth and Stress-Free Arrival
Act 1: The Terminal Tapestry – A Quartet of Gateways
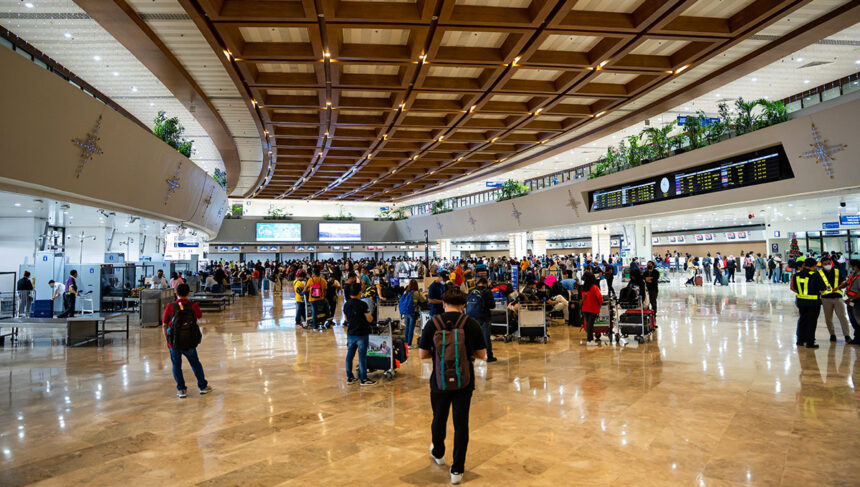
NAIA is not one single entity but rather four separate terminals, each with its own rhythm and role. Understanding this spatial symphony is the first step for a seamless transition. For travellers looking for convenience, there are various Manila airport hotels nearby.
Terminal 1 (T1): The Civic Treasure
The original grandma of the airport, Terminal 1 services the largest number of international carriers. It’s your traveller’s old friend, with the recent facelift, yet still a small and familiar atmosphere.
- The Vibe: Classic, mostly international arrivals and departures.
- Your Cue: If your flight is on a foreign flag carrier, not visible anywhere else, likely, this will be your port of entry.
Terminal 2 (T2): The Centennial Terminal
T2, or Centennial Terminal, is primarily for Philippine Airlines (PAL) and their codeshare partners and is dedicated to both incoming and outgoing international and domestic flights.
- Atmosphere: Focused and earnest. It is the main terminal for the national airline.
- You should consider: If you are travelling the entire way with Philippine Airlines (international arrival and connecting to another domestic flight to paradise), it is likely you will have a smooth, contained transfer. This is the preferred terminal for travelling explorers headed for the islands.
Terminal 3 (T3): The New Citadel
The youngest and largest of the four terminals to date, Terminal 3 is a bright and foreign sprawling terminal linking major international and domestic flights, complemented by a more efficient passenger flow. It is often favoured for its modern amenities.
- The Vibe: It is spacious, modern, and commercially vibrant, connecting you with Newport City via an elevated footbridge.
- Your Cue: If you are coming from an international airline that does not land in Terminal 1 or Terminal 2, or departing on a domestic airline, be prepared to land here. It is also our closest terminal to entertainment and hotel complexes if you want a soft landing.
Terminal 4 (T4): The National Portal
The terminal (T4) is the smallest of the four and also the oldest, yet it is the quaint, lively launchpad for a small group of regional and domestic airlines, the serving, utterly useful portal to this country’s closer provinces.
- Tracking: Compact, only domestic (depending on if you are reading this after the year of writing, the reassignments are often in flux).
- Your indicator: The final portion of your budget domestic itinerary probably takes you through this lively, busy terminal.
Act II: The Art of Smooth Transitions – Transferring with Style
The physical separation of NAIA’s terminals is by far the most significant consideration to think about. Unlike modern mega-hubs connected by fast rail, Manila’s gates involve a conscious, intentional transfer. Do not underestimate the time allocation, especially when navigating from Manila Terminal 1 to Terminal 4.
The Inter-Terminal Shuttle: The Free Flow
The most practical and stress-free path for a booked connecting flight will be the free MIAA airside shuttle bus. This Manila airport guide highlights its importance.
1. The Perk: It is within the secured perimeter of the airport, so you will be able to bypass the horrible Manila city traffic.
2. The Process: After you have landed, follow the signs for the “Transfer Desk” or “Inter-Terminal Bus”; they are clear enough to follow. At the desk, present your onwards flight ticket, after which you will be shown to the next waiting shuttle.
3. The Wisdom: It is wise to plan on at least three to four hours for your connection. Even with the free shuttle bus, connecting and waiting times can seem to stretch before your very eyes, but having time on your side is a gift in this terminal interchange. Be mindful of the journey from Manila Terminal 1 to Terminal 4.
The Street Route: Taxis and Ride-Hailing
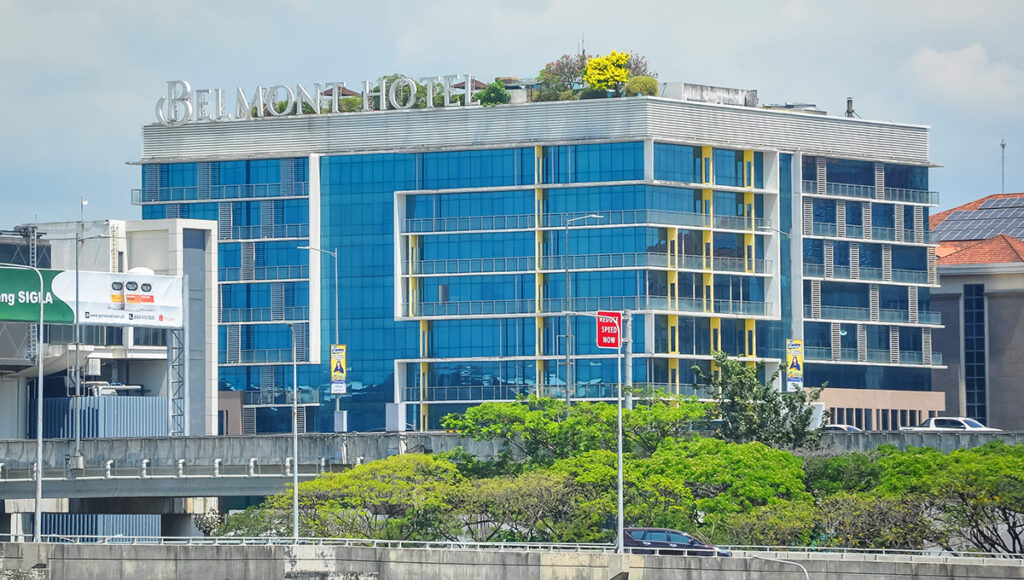
If your connection is self-booked or you are transferring to a destination not at the airport, you will exit the secured area and travel via the public road system. Before you go, consider booking one of the convenient Manila airport hotels.
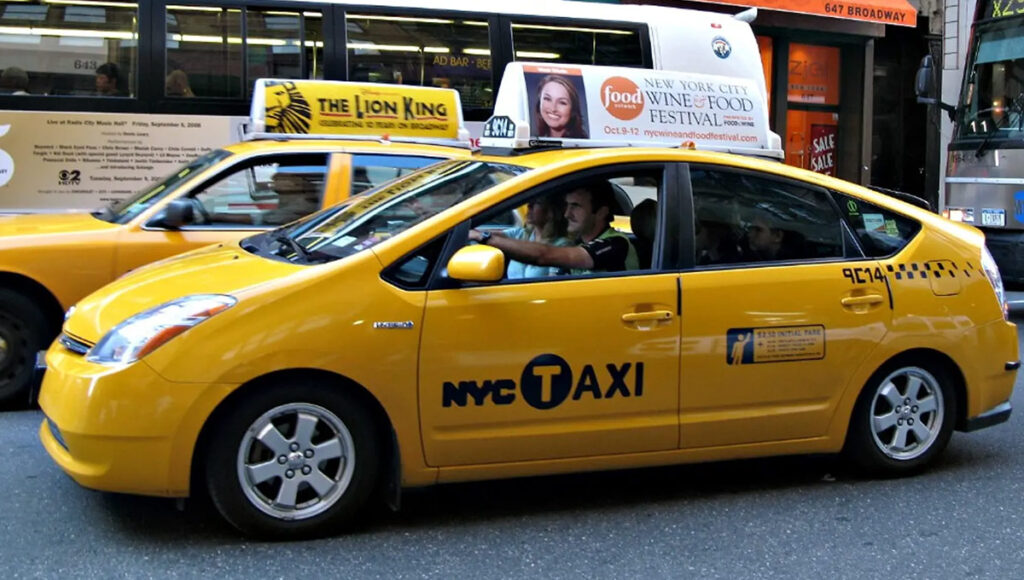
- Yellow Metered Taxis: These are the official airport taxis. Although they are slightly higher on the flag-down rate than city taxis, they are usually safer and more dependable.
- Ride-hailing App (Grab): Downloading and setting up a localised ride-hailing app such as Grab before you land is an essential item in modern-day travel. The advantages of fixed pricing and tracking via digital means provide an extra layer of safety and convenience for a reasonable slight premium. Just find the correct pick-up bays to meet your designated car.
- P2P Buses: If you are on a tight budget or travelling solo and are headed to any of the major metros (Makati, Ortigas, Alabang), you can try a Point-to-Point (P2P) bus service such as UBE Express. The P2P option is an air-conditioned and comfortable option where you will have definitive routes and a schedule. Remember, travelling from Manila Terminal 1 to Terminal 4 will require more time if done via public roads.
Act III: The Journeyer’s Conquests – Essential Advice
Arriving in Manila should not just be a chance event; it is the end result of being prepared. Follow these simply written guidelines for arriving in splendid victory.
1. The Double Life of Passengers: Register your eTravel Card
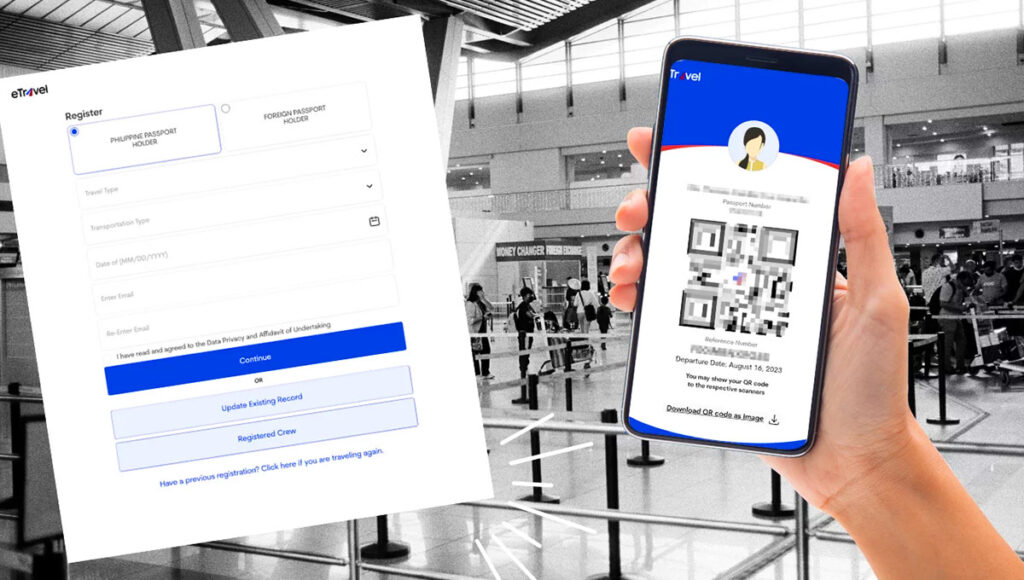
Before boarding the flight, get acquainted with the eTravel system. The eTravel system is a digital single-data collection platform for arrivals to the Philippines and is compulsory. Manila airport guide stresses this step. You can register your eTravel Card here
- The Timing: You should complete your eTravel Card within 72 hours of your scheduled arrival time.
- The Outcome: You must have an output of a QR code that is generated digitally or printed. You’ll find that it substantially speeds up immigration clearance.
2. Currency and Connectivity: Getting Started on Solid Ground.
Do not wait! The Arrival Hall is the best place to meet these initial operational needs.
- Currency Exchange: Counterintuitive, but the exchange rates at the established money changers in the NAIA arrival halls may be more favourable than those outside. Change enough currency (Philippine Pesos – PHP) for your transfers, for your SIM card, and for whatever initial expenses may arise.
- Local SIM card: Buy a local SIM card right away. Having data you can count on is critical for ride-sharing apps, navigating, and communicating with others you may meet. Major providers have service booths immediately after customs.
3. The Immigration Dance: Confident Clarity.
Philippine immigration officers are usually professional and friendly. You want to have your documents easily accessible when it’s your turn at the desk.
- Passport (valid for at least 6 months)
- Printed or electronic copy of your onwards/return ticket
- Proof of accommodation (if asked)
- The completed eTravel QR code
Speak clearly and with confidence as to your purpose of travel and your itinerary. This Manila airport guide tip is crucial.
4. Logistics After Landing: Meet and Greet
Once you’ve passed your final check and are in the Arrivals Hall, find the designated waiting bays. These numbered waiting bays are, of course, important for making your pick-up by your pre-booked transfer or your Grab driver easier. Make sure to tell your contact from which numbered waiting bay you will meet them to also cut down on sheer arrival hall congestion in and around fellow travellers. Consider staying at one of the Manila airport hotels if you have a very early connecting flight.
5. The Golden Rule of Timing: Add Time Buffering
Any seasoned traveller to Manila will say the same: add time-pad. Whether christening terminals into the city, extending time to drive, it is a welcome shield against Manila’s consistent traffic and any other delays. Taking it willingly slow will be richly rewarding of your patience.
Epilogue: The Invitation
Manila’s Ninoy Aquino International Airport is where your journey in the Philippines comes alive. With World Pinoy Flights you are prepared, knowing how it is uniquely structured, and the process for easy transfer, and that the best advice is to prepare, and you will sail through your arrival. This Manila airport guide ensures a smooth, efficient, and inspiring transition.
When you step off that plane, breathe in the tropical air, and relax, you have mastered the Emerald Gate. You have arrived at the warmth of a thousand islands and the warmth of the Filipino people to celebrate your entrance. Mabuhay! Welcome to the Philippines, and happy Manila holidays.
FAQs for Manila Airport Guide
Why is having 3–4 hours for connecting flights so important (even if I have the free airside shuttle)?
Manila’s four terminals being physically separated means it can take some time to connect. However, even if you took the airside shuttle, you still need time to disembark the plane and go through immigration, get your bags, wait for the shuttle, travel between terminals, and go through security again. The Manila airport guide emphasizes that the aim of the 3–4 hour connection time is to ensure you don’t miss your next flight due to delays, queues or other unforeseen situations.
Are yellow Metered Taxis better than Grab?
Usually, Grab is a better option. Yellow Taxis are official taxis; however, Grab offers a fixed fare, cashless payment, and the option of tracking the trip. As a result, for just a small premium, Grab is simply safer and more convenient.
Why do they recommend changing money at the NAIA arrival halls?
NAIA’s official money changers actually have surprisingly good rates compared to nearby places. Therefore, on arrival, it is best to just change a small amount of pesos to have for your immediate needs—for your transfer, or a SIM card, etc.
Is Manila Airport easy to navigate for first-time travellers?
The Manila airport guide recommends familiarizing yourself with the airport’s layout before arrival. Manila has four separate terminals, and transfers between them can take time. The signage is clear, but peak hours can be busy, so knowing which terminal your flight arrives or departs from will help ensure a smooth journey. Checking the guide in advance saves both time and stress during your connection or arrival.
Is Wi-Fi available at Manila Airport?
Yes, free Wi-Fi is available in all terminals. However, connection quality can vary depending on passenger volume, so it’s a good idea to download important information or maps before landing, just in case the signal is slow during peak hours.